GDLauncher
We recommend using the CurseForge and FTBApp launchers until further notice, due to changes regarding downloads of modpacks in third party launchers with CurseForge and FTB.
About GDLauncher
GDLauncher is a Minecraft launcher. It can be used to launch vanilla Minecraft, custom modpacks, or regular modpacks. This launcher is one of our recommended options for installing modpacks and managing mods. GDLauncher works on all major platforms - Windows, Linux and macOS.
How to Install
- Head to GDevs and select which software is most appropriate for you. Typically you want to click the “Download Now!” button.
- Click the download link related to your OS and then save it to your Downloads folder for easy access.
- Click the downloaded installer link and it will prompt you to install Java 8 and Java 16. This should be done automatically by the launcher with no intervention needed on your part.
- Next it should ask you to login to your Minecraft or Microsoft account. Please do so now.
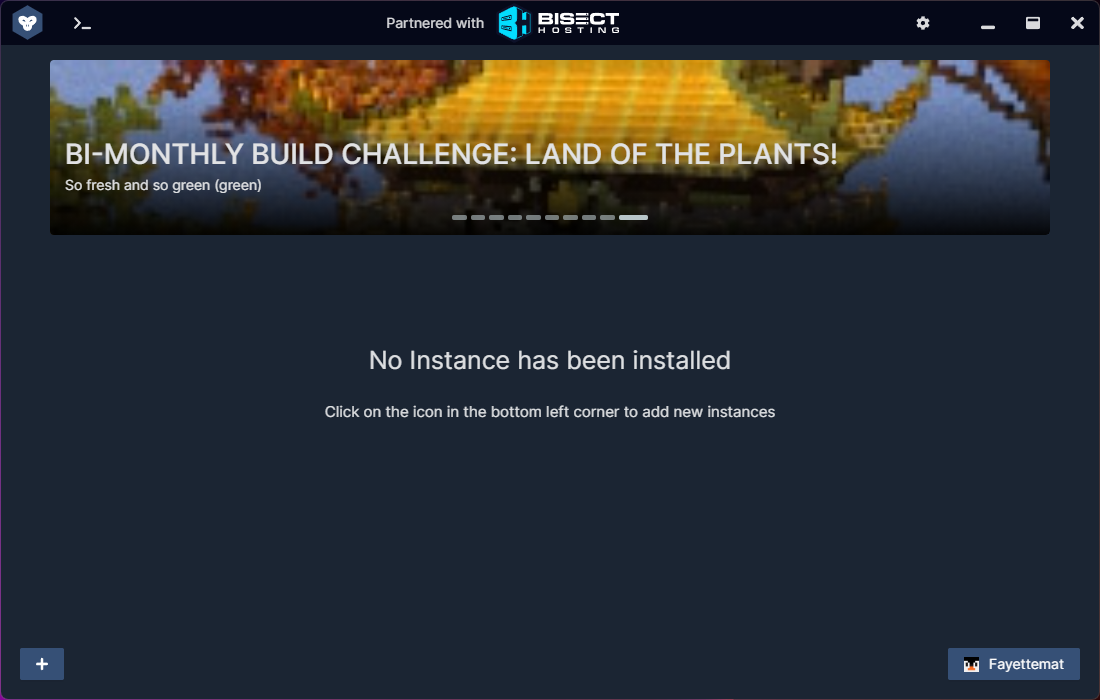
- After this process is done you should be greeted by a mostly blank window telling you no instance has been installed. See below for more details on adding mod packs.
Adding a Modpack
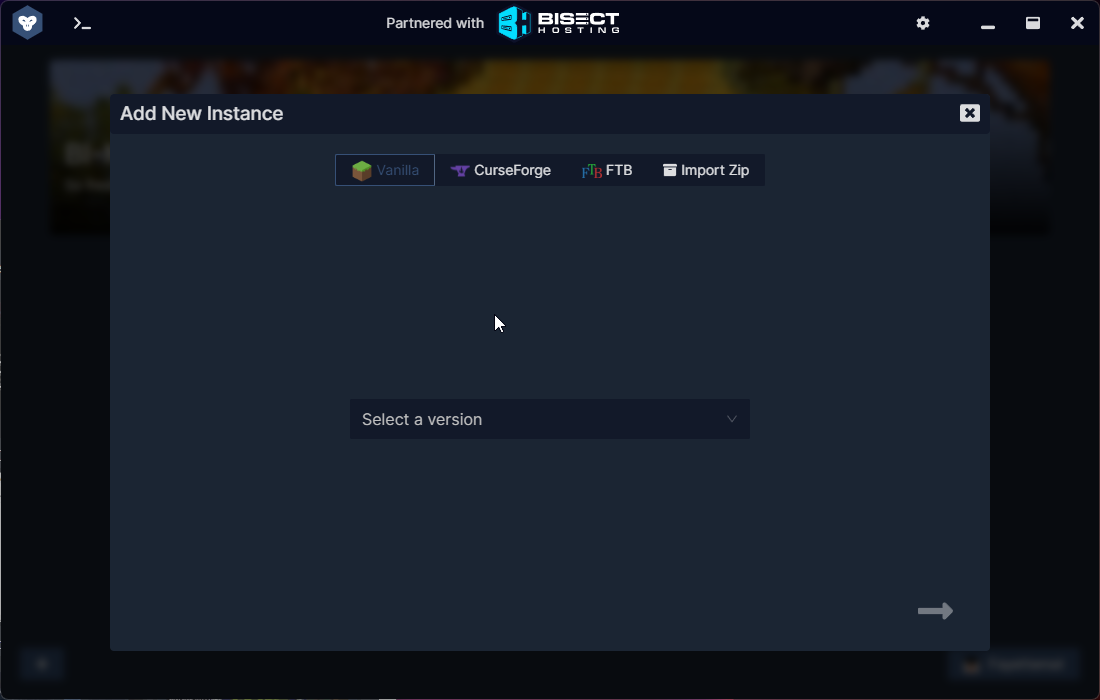
- Click the + button in GDLaunchers Main Window.
- Click the type of instance you like. If you’re looking to install general Minecraft you’re looking for Vanilla otherwise you’re likely looking for CurseForge or FTB. If you’re using a FTB Pack please click the FTB Tab.
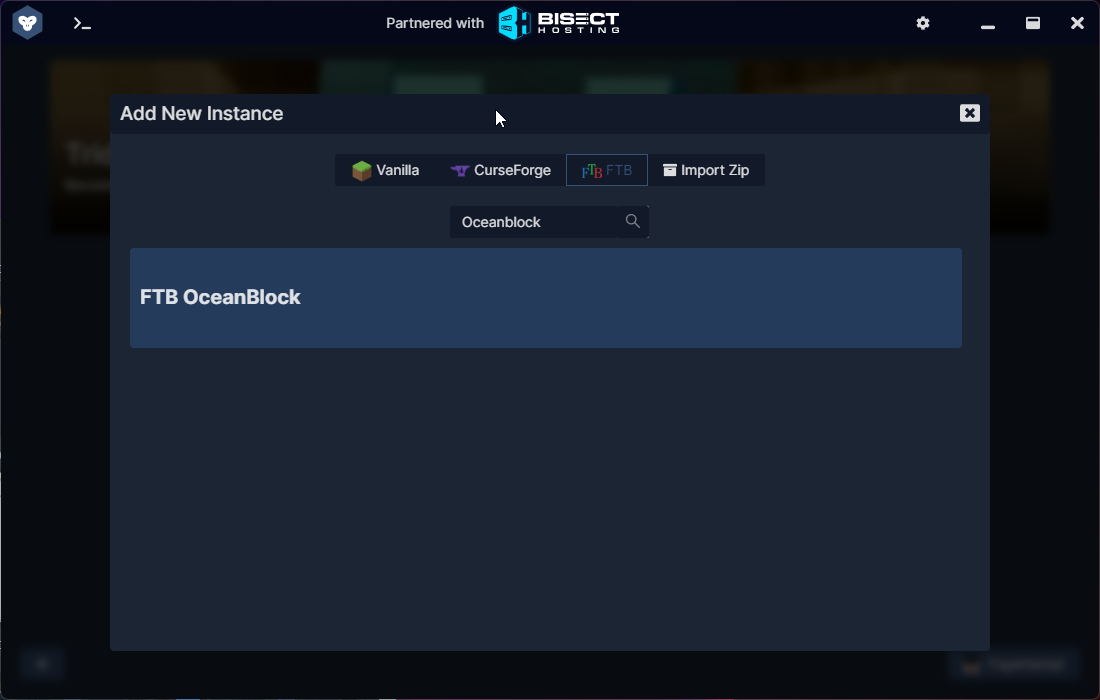
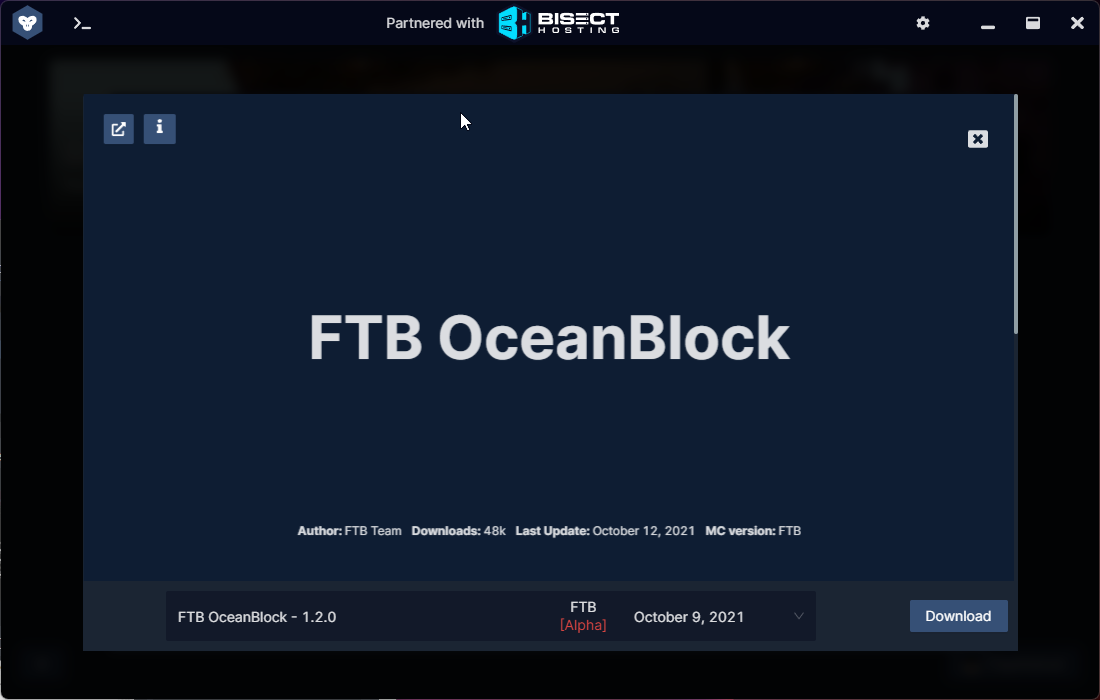
- Click the search box and type in the name of the pack that you’re looking for. In the example below I’ve used OceanBlock.
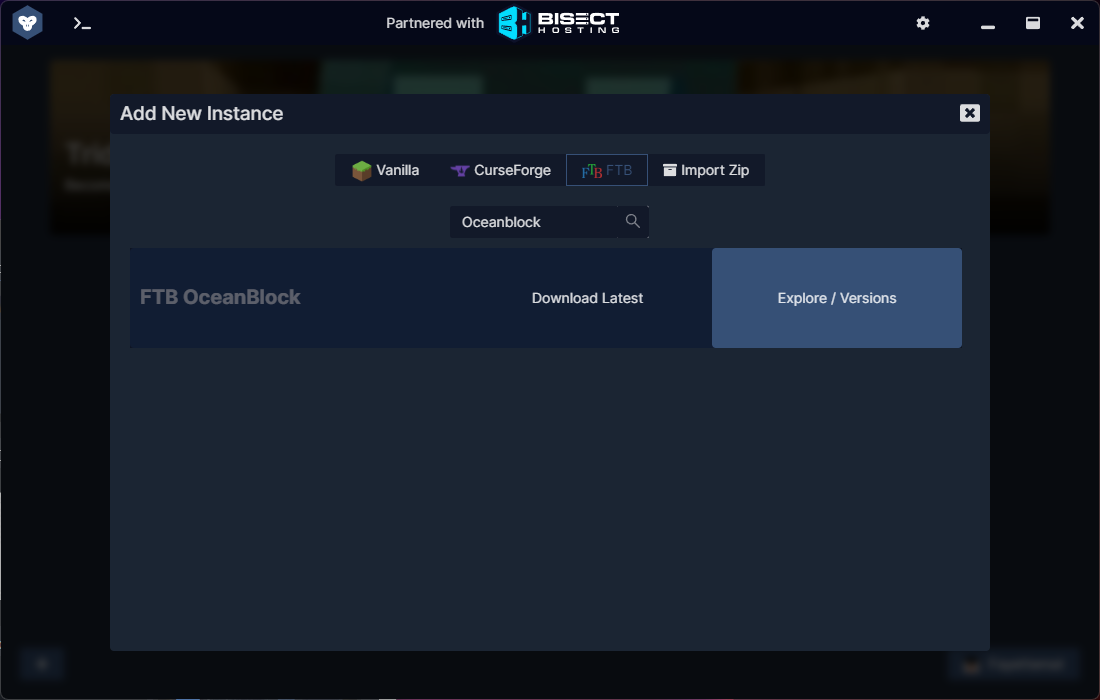
- Hover over the modpacks name and you will see an option to download latest or Explore / Versions. Click the Explore / Versions Option.
- Now you will need to select your version of the modpack to begin the install. After this is done click Download.
- Give your modpack download / instance a name. Click the next arrow.
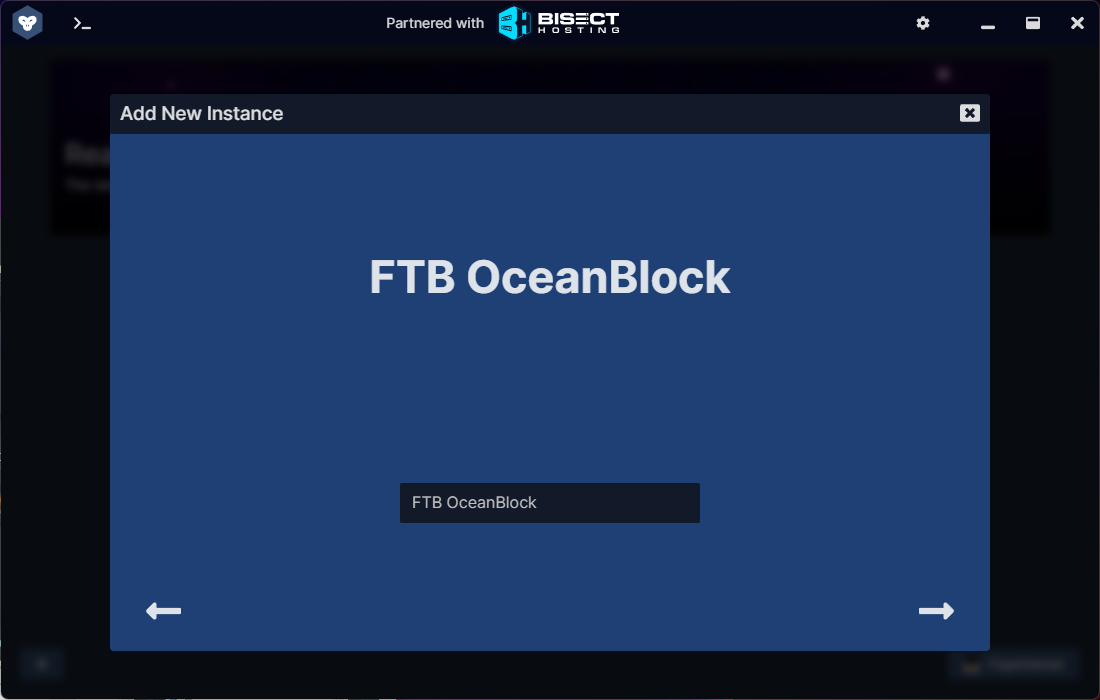
- Your modpack will now download. If you have issues with downloading Forge you might need to switch to the beta channel.
- Click “Play” after hovering over the modpacks name and it will launch the pack. Enjoy!

Managing Mods with GDLauncher
Removing and adding mods can cause pack instablity. Please consult your launcher’s documentation on backing up your instance prior to preforming any of the tips below.
Using GDLauncher is almost as easy as MultiMC but this will likely get even easier in the future. The current hardships is that you have to enable the beta channel for GDLauncher to get it work correctly at this time. Please follow the steps below if you’d like to manage your mods with GDLauncher.
- Right Click on the modpack and select
Manage.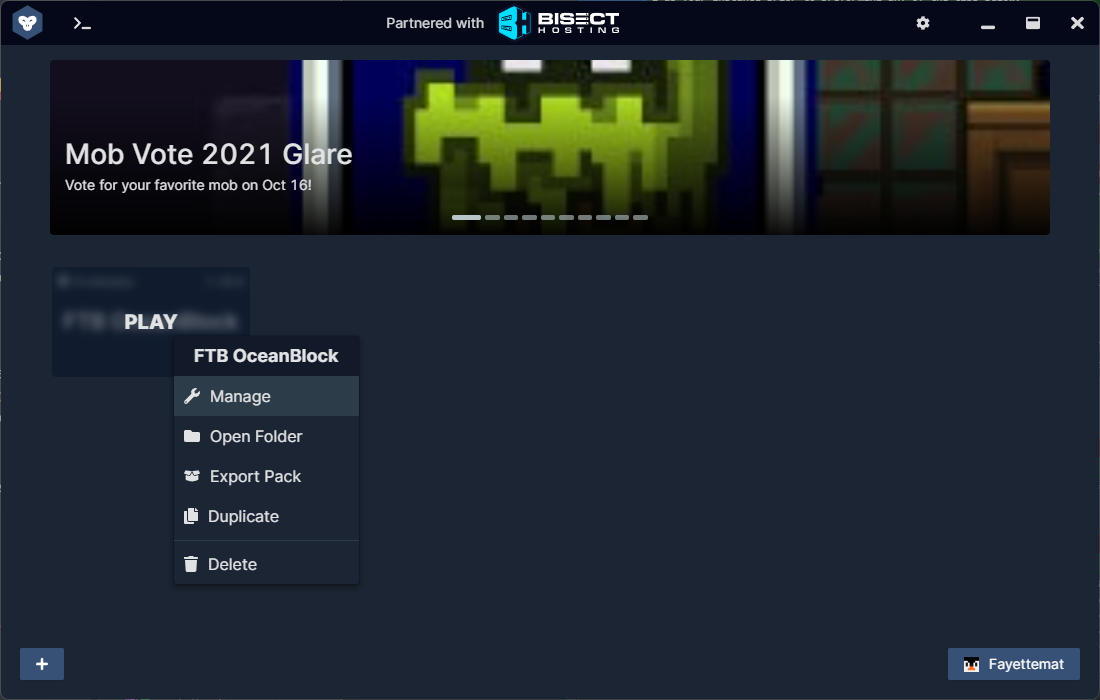
- Click
Mods
- In the top right of the current window you’ll see a search box. Type in the first part of the name of the mod you wish to remove. For example FTB Auxilium you would type in
FTB.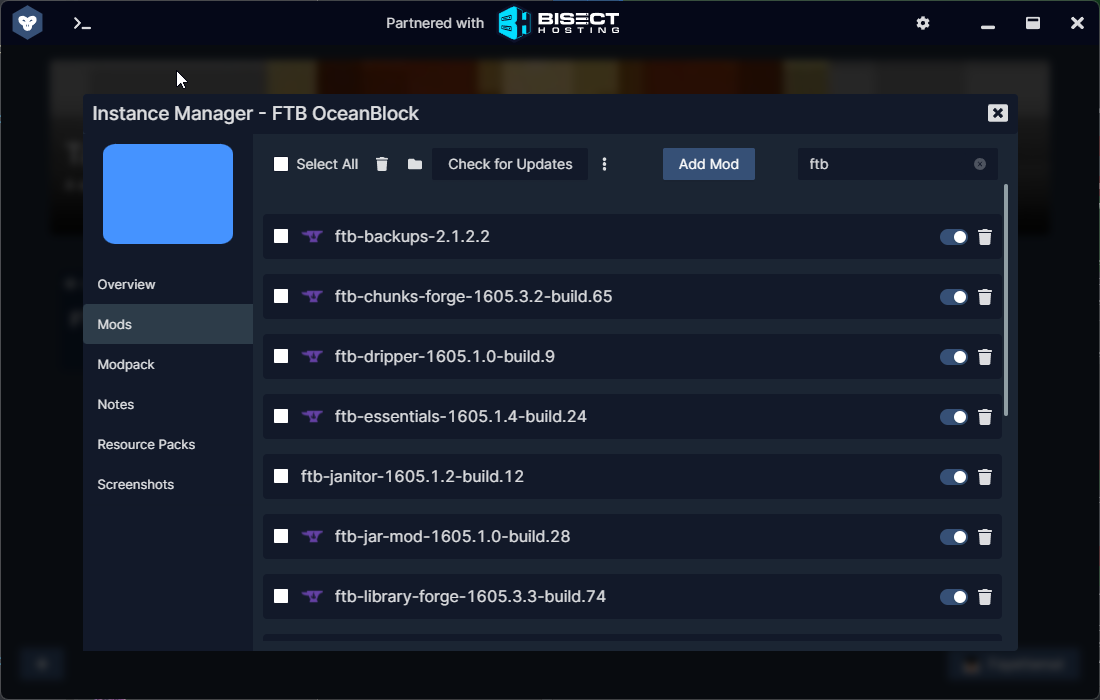
- Click the toggle for the mod you’d like to disable. It should look like the below once you’ve completed this.

- Repeat Steps 3 and 4 for any mods you’d like to disable.
- Click the X at the top of the window titled
Instance Manager - Launch your modpack to play.
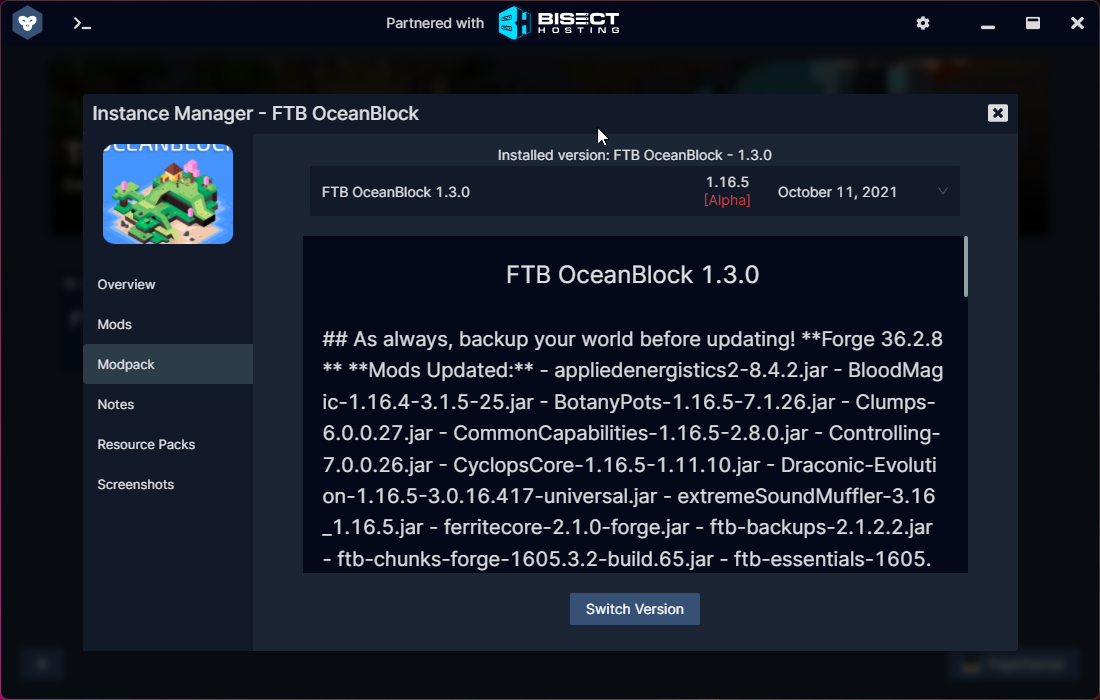
Upgrading Modpacks
Please backup your modpacks before upgrading incase something goes wrong. If your upgradse fails please create a new instance of the modpack.
- CLick on your modpad and select “Manage”
- In the Instance Manager window click “Mod Pack”
- Click the drop down menu in the middle of the window to select the version you’re looking to upgrade to. Click switch version after you confirm you’ve selected the right version.
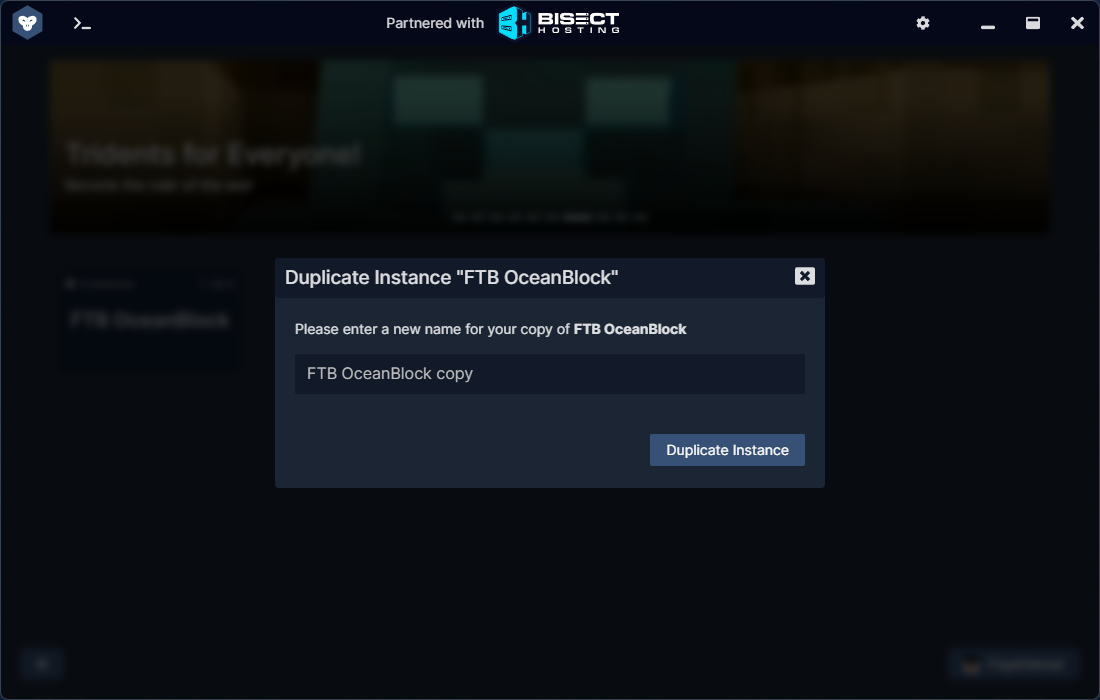
Backup Modpacks with GDLauncher
If you’re wanting to modify the mods in your pack it’s highly recommend you backup your instance first. This prevents you from having to do a completely clean reinstall.
- Right click on your modpack and select “Duplicate”
- Enter a name for the duplicated modpack and press the duplicate button.
Updating Java Per Instance
GDLauncher typically sets the default and correct version of Java for installs of packs using GDLauncher. We do not recommend updating them here.
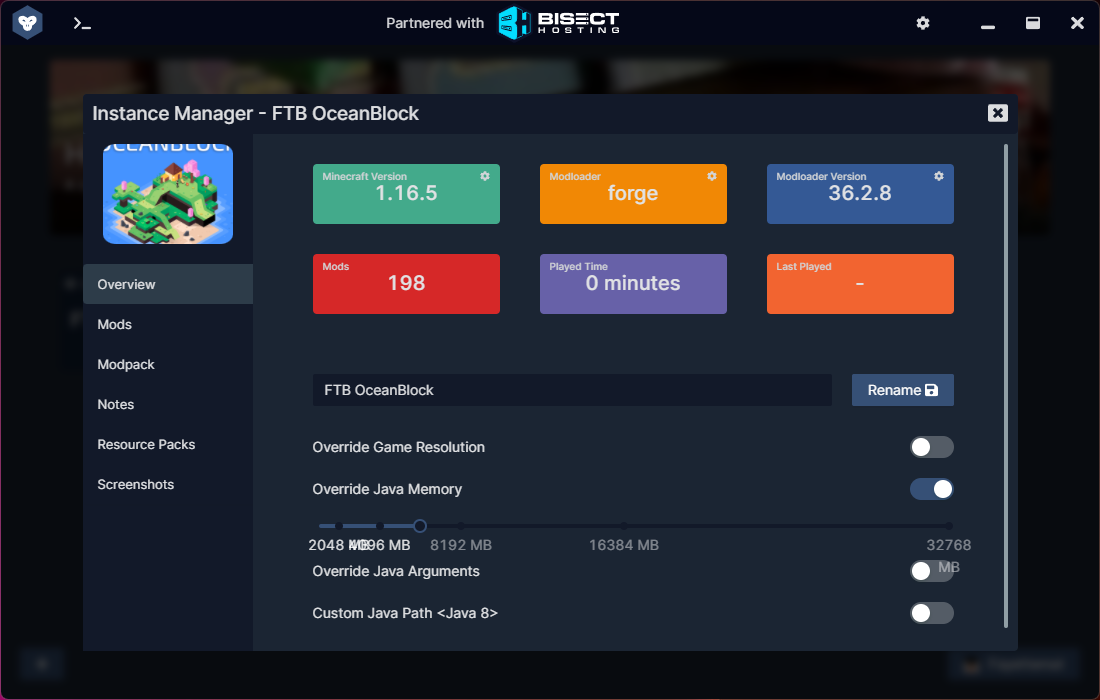
Setting Java Arguments
Some packs have Java Arguments (args) that we recommend you the pack with. Check the ModPack Tips section for any args that might need to be set for your pack. The below assumes you’re setting it per instance.
- Right Click on your instance and select “Manage”
- On the “Overview” tab, click the toggle next to “Override Java Arguments” it should look like the below when done.
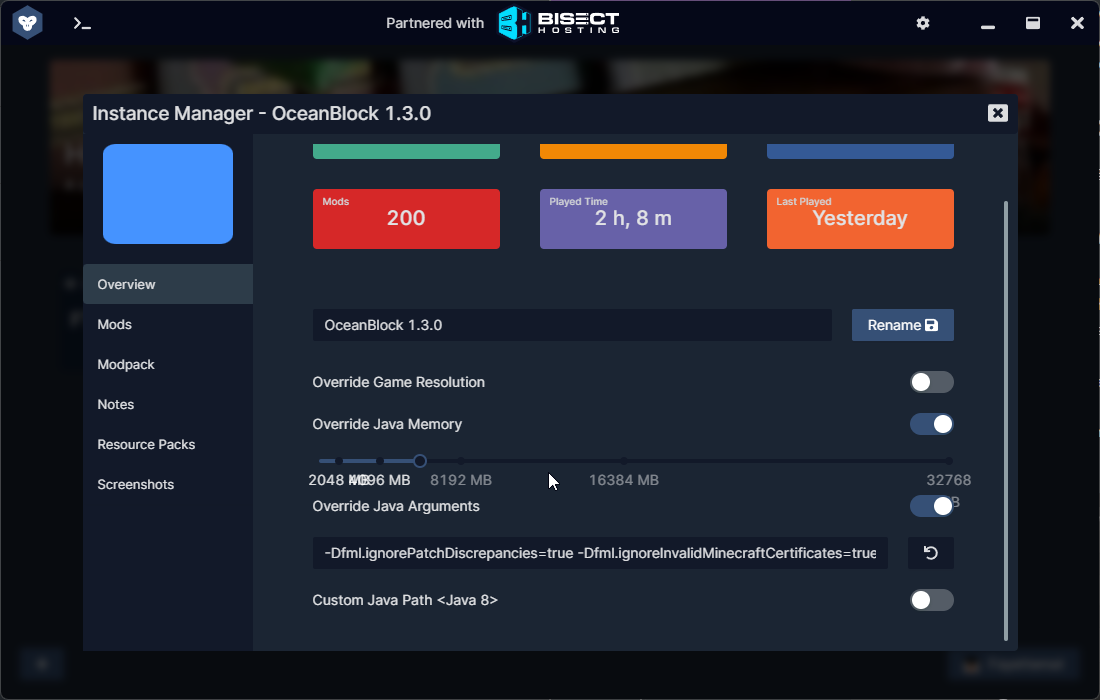
- Paste in your Java arguments into the text box that appeared. Click the “X” on the window to save.
- Launch your modpack. If any mistakes have happened you can go back to the previous window and click the reset button.
Enabling the Beta Launcher
Sometimes Forge installations will fail when trying to download modpacks with GDLauncher. Luckily there’s a way around this. You will need to enable the beta release of the launcher for this. To do so simply follow the steps below.
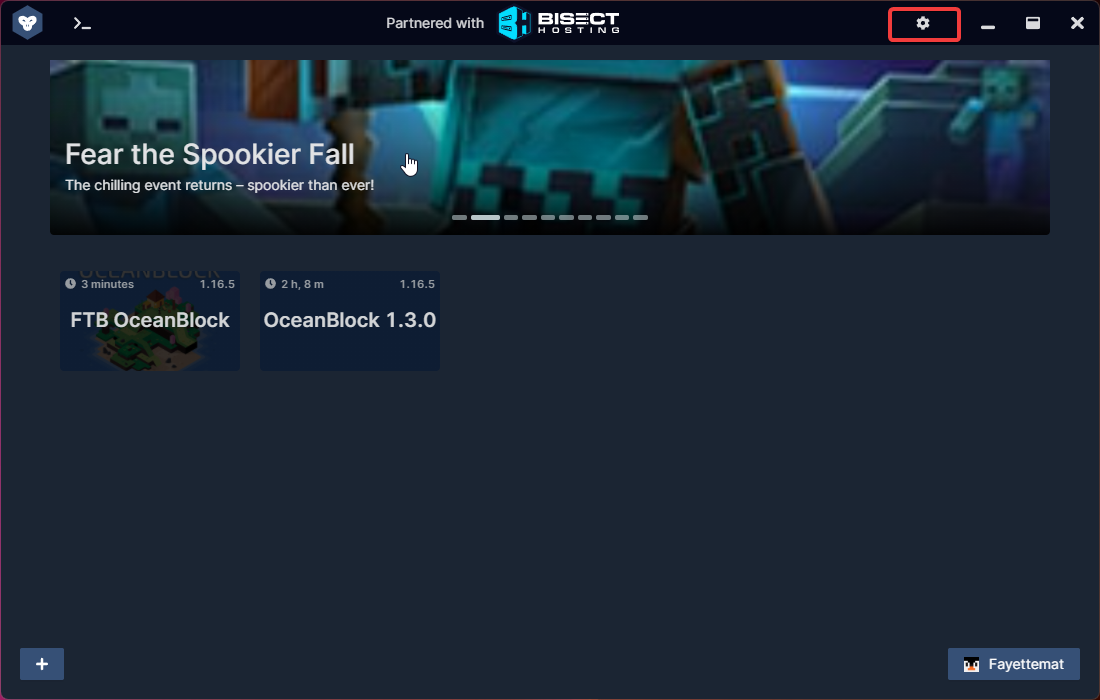
- Click the settings icon at the top of the screen.
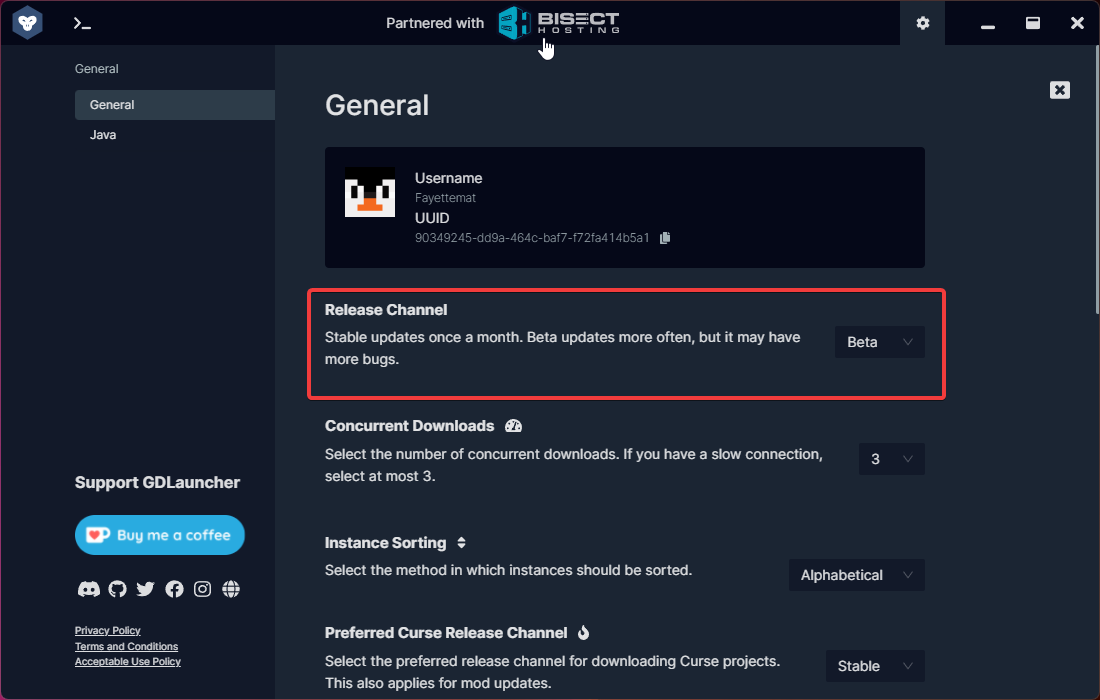
- Change Release Channel to “Beta”. Click the “X” button at the top when done.
- You will now need to restart your GDLauncher and relaunch it. Once you’ve done so give it a few and you should be prompted to update to the newest release.
- Update to the newer release and retry your pack install clean.